

Nowadays every project has a ton of dependencies and a Frontend library like React is the perfect candidate for a black hole sized node_modules folder. With NPM you can easily download libraries and keep the versions up to date which is more or less a bit of a hassle. Let's jump straight to what I consider in no particular order, some of the coolest libraries that most React projects would benefit from immensely.
1. NextJS
 An unfortunate downside of using SPAs is the lack of SEO they come with. Most SEO bots that crawl websites do not run JS therefore they are greeted with an empty page and this affects the ratings considerably. NextJS and other frameworks come to the rescue by providing SSR (Server Side Rendering) / SSG (Static Site Generation) out of the box for you React application.
To initialize a NextJS project with Typescript included let's run:
npx create-next-app --typescript
# or
yarn create next-app --typescript
We will be greeted with a different folder structure than CRA but it's pretty straightforward. Routing is managed by NextJS by mapping the files inside pages directory by default.
Let's say we wanted to display a random dog image we update pages/index.ts as follows:
import { useEffect, useState } from "react";
import Image from "next/image";
const Home = () => {
  const [animalUrl, setAnimalUrl] = useState(null);

  useEffect(() => {
    // we make a simple GET request and parse the response as json
    fetch("https://dog.ceo/api//image/random")
      .then((response) => response.json())
      // and update the img URL
      .then(({ message }) => setAnimalUrl(message));
  }, []);

  return (
    <div>
      {animalUrl && <Image src={animalUrl} layout="fill" alt="animal" />}
    </div>
  );
};

export default Home;
NextJS has routing included so there's no need for other 3rd party dependencies like react-router or others. If we want to use images we can use the Image component which comes with optimisations for SSR and payload size (to use hosts other than current domain you may need to configure next.config.js).
2. Redux
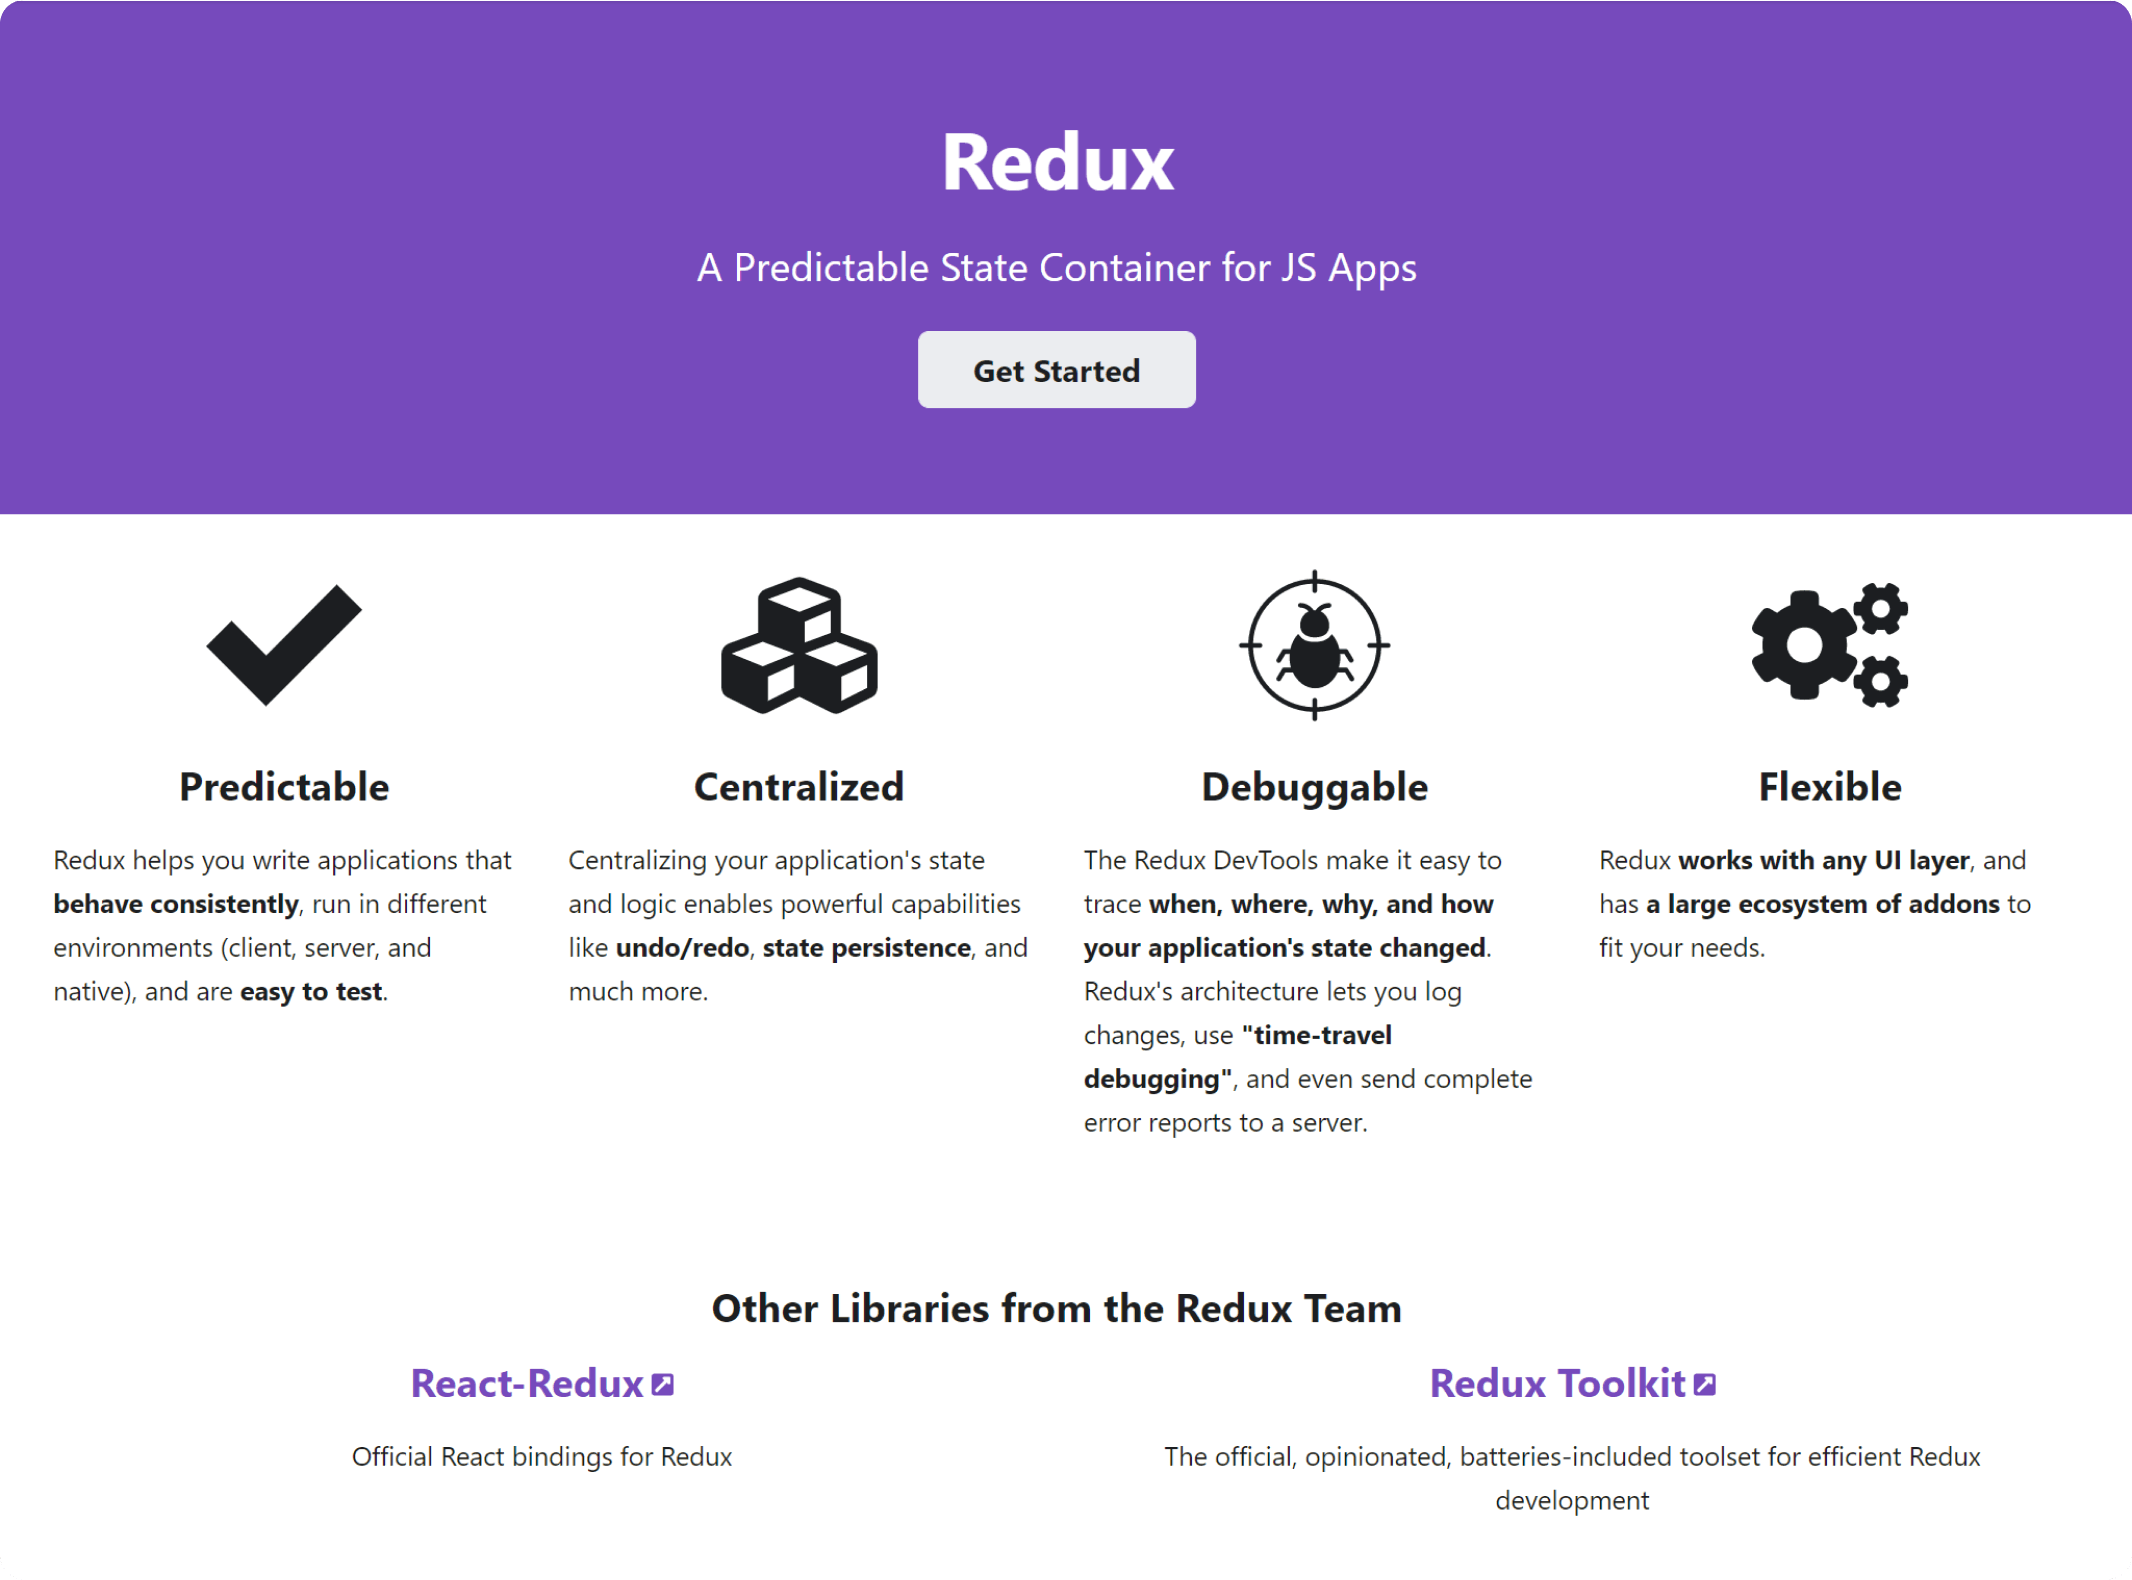 Whether you like it or not Redux is a robust and extremely popular state management library that most medium to large sized projects use. It's largely considered complex and hard to learn as it has a large ecosystem composed of packages such as redux-saga, redux-thunk and others.
To check Redux out let's use CRA with redux template
npx create-react-app my-app --template redux-typescript
I'll not explain the basics of redux as that deservers a whole separate article 😢.
3. React Query
 The hardest task a developer has to implement on the frontend is likely caching, the triple w's (when, where and what) and how to are rather complex to answer. Well, react-query comes with a set of tools (hooks) that provide a simple API for caching queries and executing mutations, no longer having to resort to a useEffect on mount with a fetch request, manually setting and handling error and loading state.
We need to first update the root App component with the ContextProvider from react-query
import { StrictMode } from "react";
import ReactDOM from "react-dom";
import { QueryClient, QueryClientProvider } from "react-query";
import { ReactQueryDevtools } from "react-query/devtools";

import App from "./App";

const rootElement = document.getElementById("root");

const queryClient = new QueryClient({
  defaultOptions: {
    queries: {
      refetchOnWindowFocus: false,
      retry: false
    }
  }
});

ReactDOM.render(
  <StrictMode>
    <QueryClientProvider client={queryClient}>
      <ReactQueryDevtools initialIsOpen={false} />
      <App />
    </QueryClientProvider>
  </StrictMode>,
  rootElement
);
In another component:
import { useEffect, useState } from "react";
import { useQuery } from "react-query";
import DogService from "./api/DogService";

export default function App() {
  // random image state
  const { data: image } = useQuery(["image"], () =>
      fetch("https://dog.ceo/api//image/random")
         .then((response) => response.json())
);
  const { data: dogsData, isLoading: isLoadingDogs } = useQuery(["dogs"], () =>
    DogService.getAllDogs()
  );

  const dogs = isLoadingDogs ? [] : Object.keys(dogsData);
  return (
    <div className="App">
      <img src={image} alt="random dog" />
      {isLoadingDogs && <p>Loading...</p>}
      {!isLoadingDogs && dogs.map((dog) => <p>{dog}</p>)}
    </div>
  );
}
See more in-depth tutorial about react-query in this article.
4. Cypress
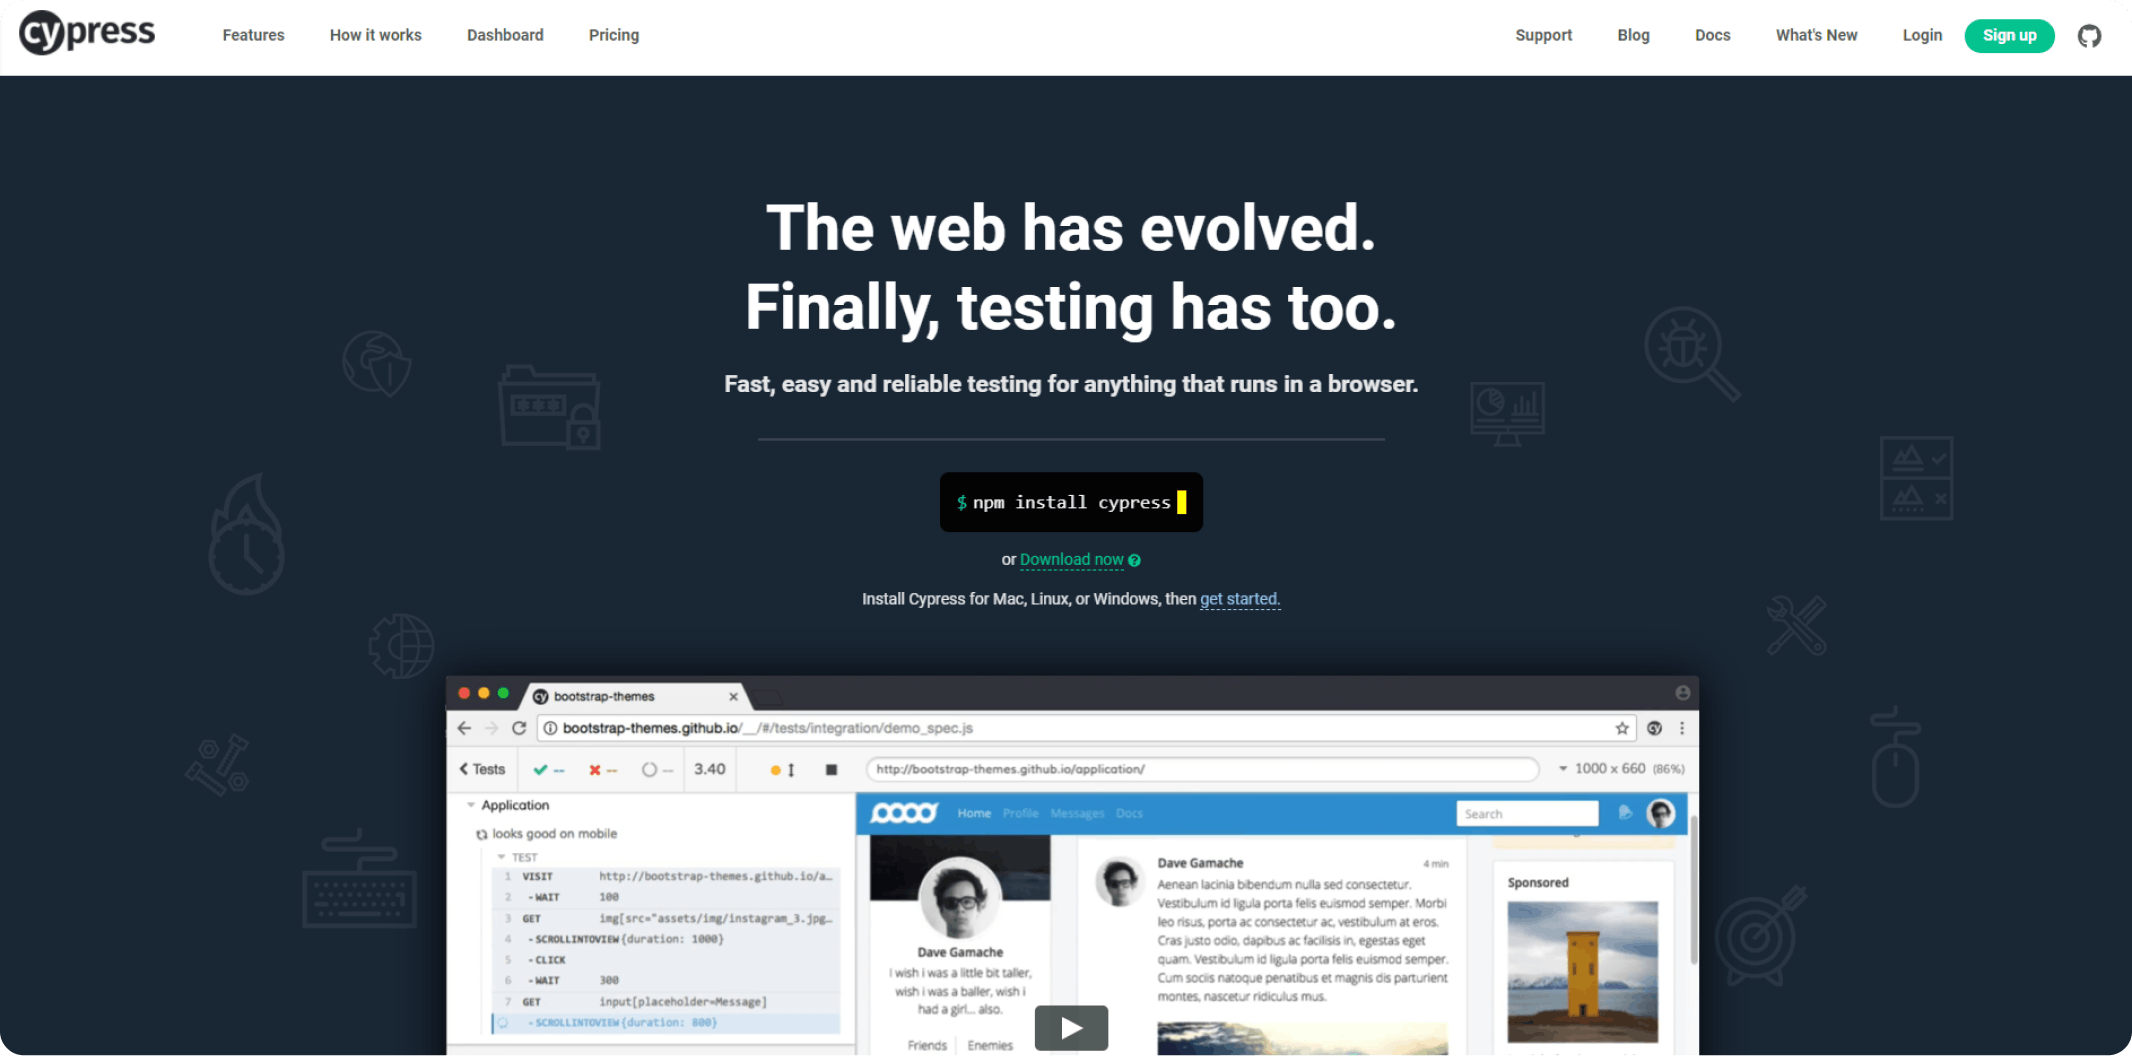 End-to-End testing at it's finest, cypress is a state of the art framework for creating component, flow and event API endpoint testing in JS, it has a similar syntax to other JS testing libraries and can be easily integrated with CI-CD tools such as Circle CI.
We can write a test that checks if the dog image has been displayed like this
it('shows dog image', () => {
  cy.visit('https://localhost:3000');
  // check img for src attribute
  cy.get('img').should('have.attr', 'src');
})
it('returns a random dog image, () => {
  cy.request({
    url: 'https://dog.ceo/api//image/random',
    method: 'GET',
  })
    .its('body')
    .should('deep.contain', {
      message: 'some url',
    })
})
5. React Three Fiber
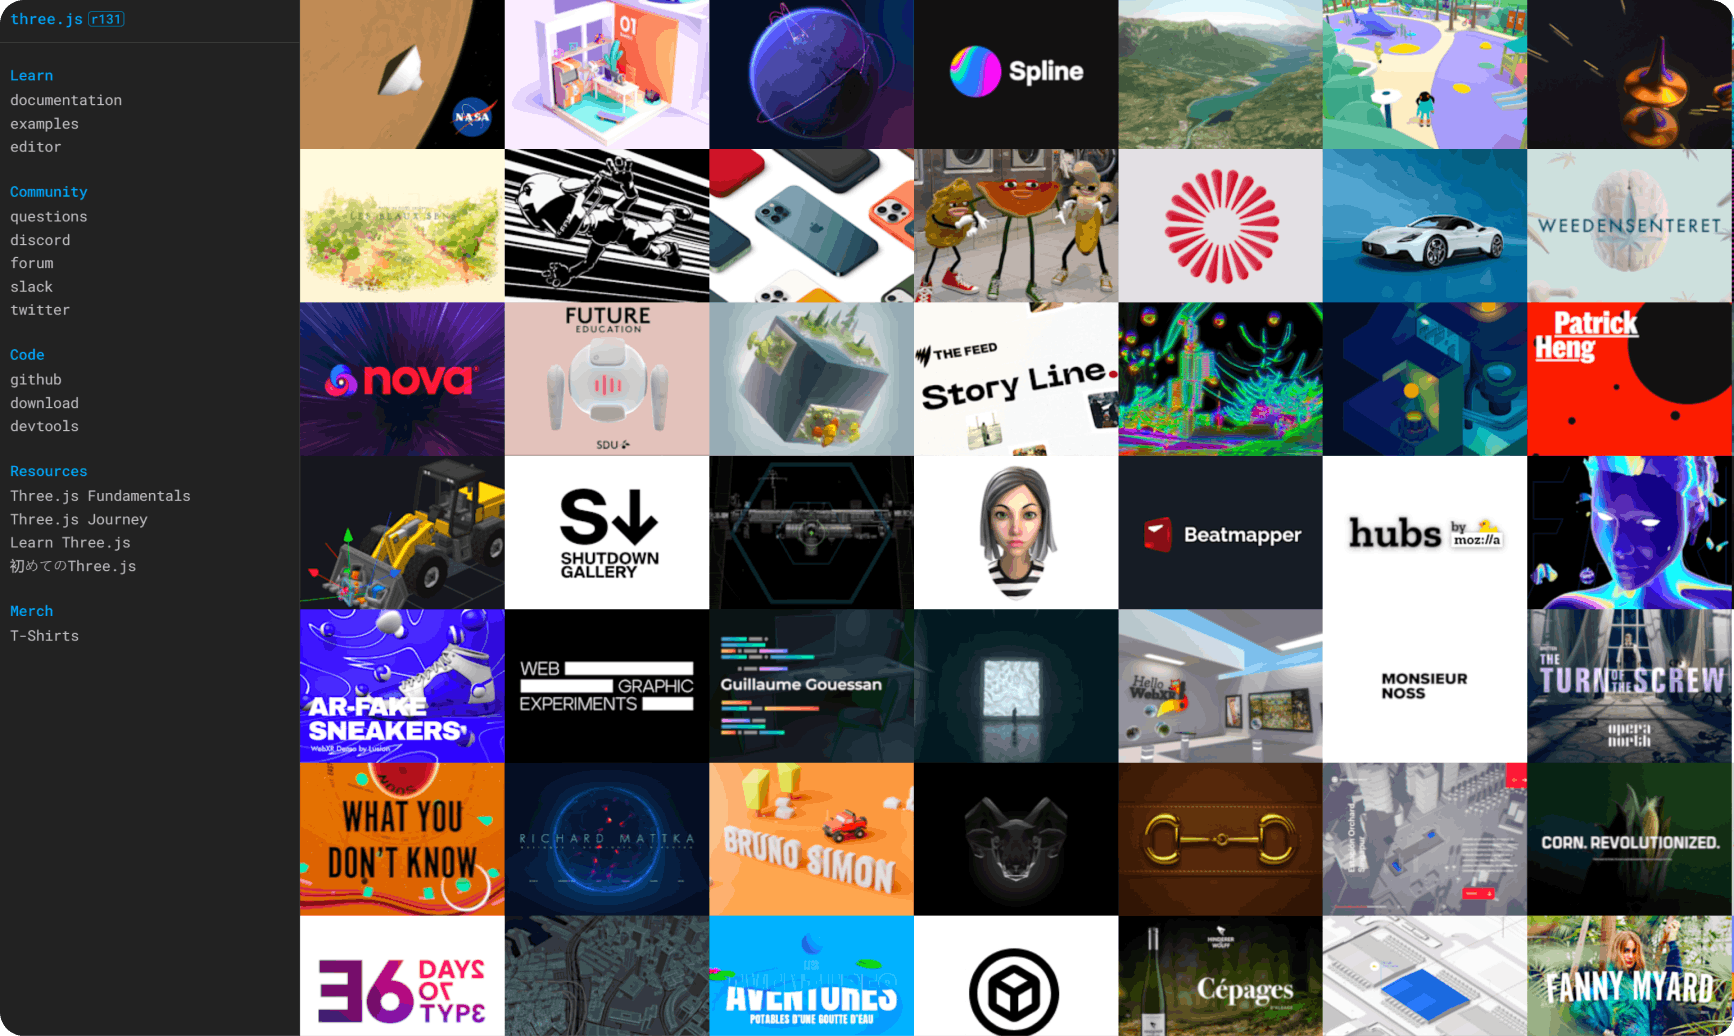 This one is a personal favourite of mine and just a recent venture in the world of 3D. It's a React renderer for ThreeJS that allows using components and hooks to create an intricate 3D experience of your choosing. Setup scenes, load 3D Models, dynamically update meshes on frames and many more, it's the go-to choice for any interactive experience in the amazing world of WebGL.
As an example let's show 2 sphere shaped meshes (3D objects slang) that change color on hover and scale on click.
import React, { useRef, useState } from 'react'
import { Canvas, useFrame } from '@react-three/fiber'

function LowPolyBall(props) {
  // This reference will give us direct access to the mesh
  const mesh = useRef()
  // Set up state for the hovered and active state
  const [hovered, setHover] = useState(false)
  const [active, setActive] = useState(false)
  // Rotate mesh every frame, this is outside of React without overhead
  useFrame(() => {
    mesh.current.rotation.x = mesh.current.rotation.y += 0.01
  })
  return (
    <mesh
      {...props}
      ref={mesh}
      scale={active ? 1.5 : 1}
      onClick={(e) => setActive(!active)}
      onPointerOver={(e) => setHover(true)}
      onPointerOut={(e) => setHover(false)}>
      <sphereGeometry args={[1]} />
      <meshStandardMaterial color={hovered ? 'black' : 'white'} />
    </mesh>
  )
}

export default function App() {
  return (
    <Canvas>
      <ambientLight intensity={0.5} />
      <spotLight position={[10, 10, 10]} angle={0.15} penumbra={1} />
      <pointLight position={[-10, -10, -10]} />
      <LowPolyBall position={[-1.2, 0, 0]} />
      <LowPolyBall position={[1.2, 0, 0]} />
    </Canvas>
  )
}
I hope you enjoyed this short list of amazing NPM packages and would love if you put a 💜 on it!